How to crop portraits like a pro? – article by Tarun Joshi – professional wedding photographer in Chandigarh. Most of the portrait photographers are inclined towards the lighting, clothes and props for the capturing, however, right kind of crop usually gets ignored. There is no doubt that right kind of portrait crop enhances the quality of the picture and gives an eye to detail.
This article will deal with the basic tips of How to crop portraits like a pro. Cropping is an art and it does come with practice. One can have their hands-on numerous image designing tools, but it could only be excelled with experience.
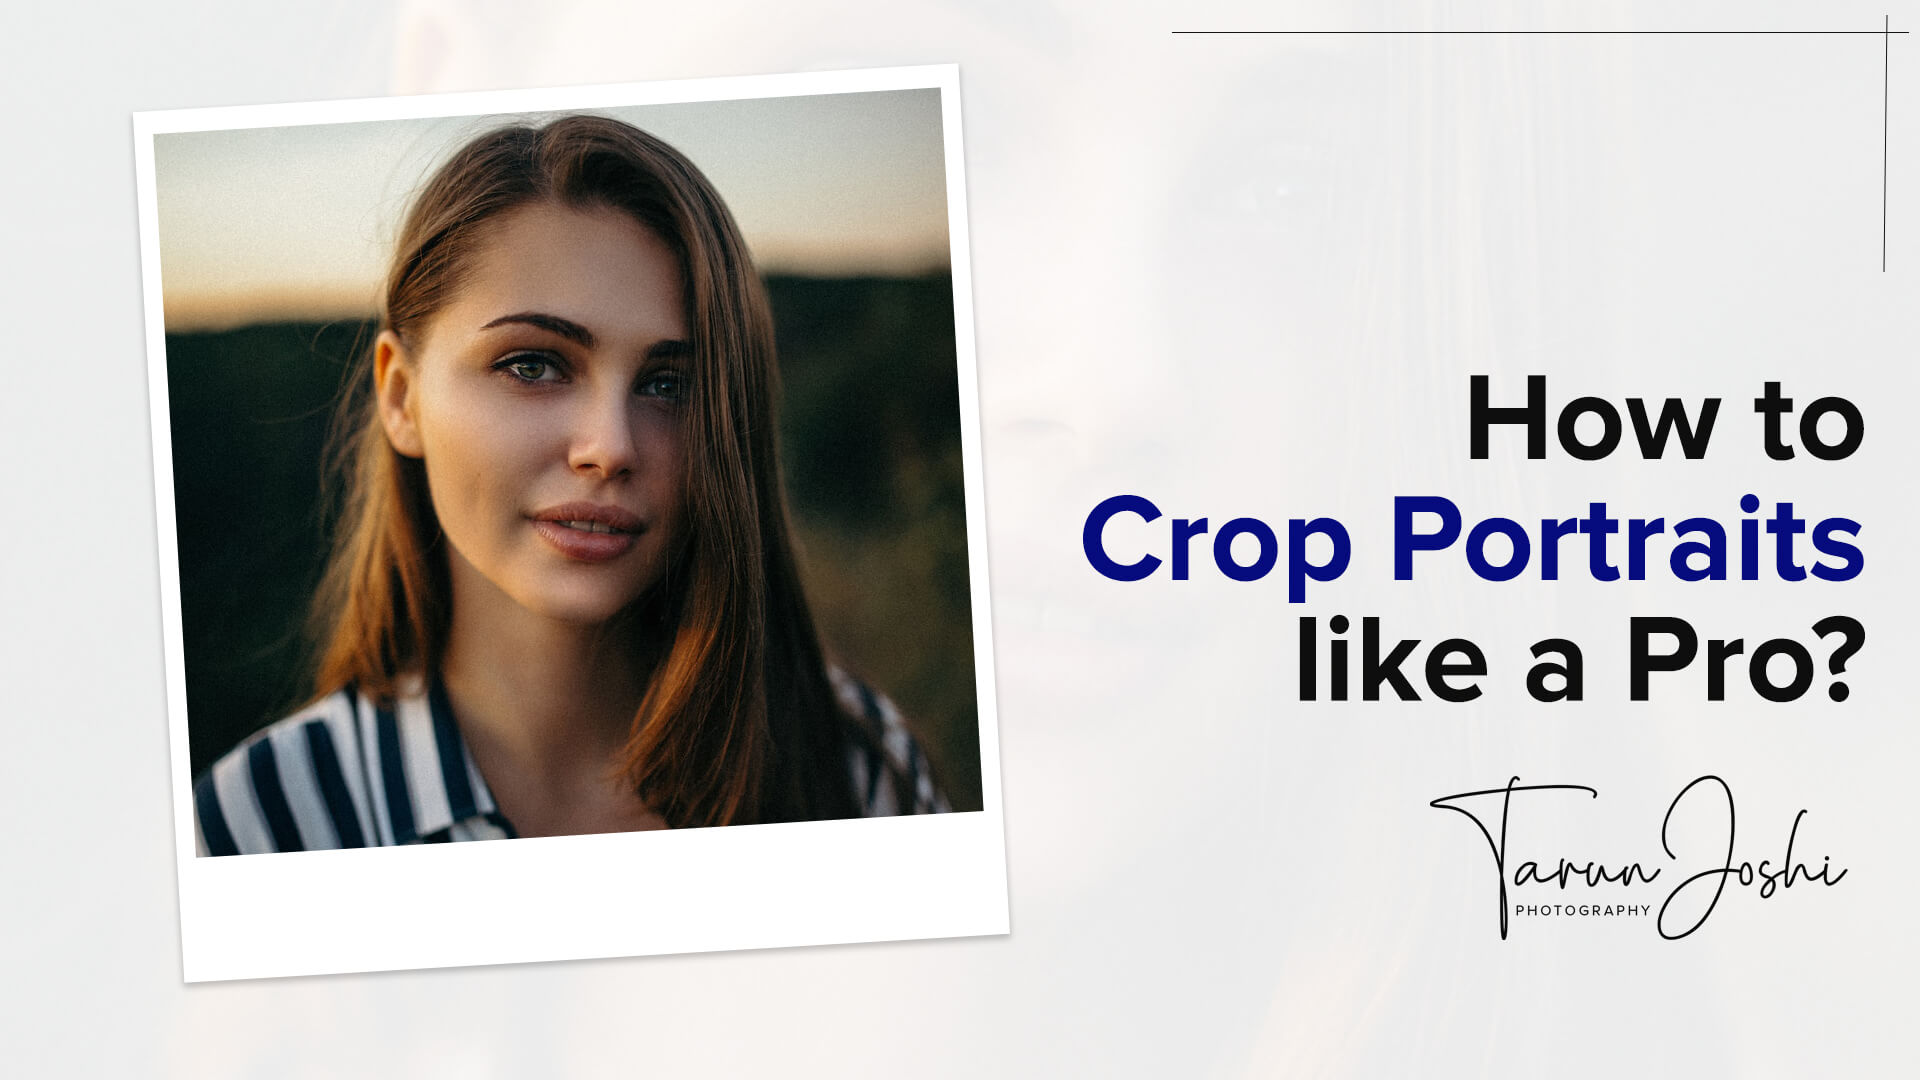
How to crop portraits like a pro?
Camera cropping:
Many photographers must have a thought that cropping comes after the capturing. However, only the experience ones are aware that cropping could be initiated in camera as well.
It goes without thinking that image that is cropped in camera is much more appreciated as it allows the photographer to blur the background objects so that the main subject could be highlighted. Whereas, when the same task is considered for post-production phase then cropping leads to grey area.
The chin up crop:
When you crop the model’s, face appear square and it frequently gives the impression that you weren’t paying attention when you snapped the picture. However, keeping the chin in the shot yields a much more attractive picture.
Don’t choose the center:
The subject doesn’t necessarily need to be perfectly centered in the photograph, unless the image you’re cropping is a portrait or mugshot. Always keep in mind that the rule of thirds still holds true when you are cropping a photo, so be sure to position your subject where it will be most noticeable.
It always comes in handy for the tips of how to crop a portrait like a pro. It makes the post-production process of image easier and keeps it away from grey space. Grey space usually makes the portrait looks odd.
The limbs should be fine!
In portrait cropping, it is very important that limbs are to be taken care of while capturing or cropping the picture. Avoid cropping people’s limbs at the joint as a general rule. It produces a strange visual impression that resembles an amputation more than a framing tool.
Avoid clipping the little appendages, including the fingers, toes, and even the ears. To make your bodies less uncomfortable, crop them at the torso, waist, thighs, shin, or upper arm.
Explore options:
Keep on experimenting with different compositions and crop sizes. Planning ahead is crucial since you never know where the final image will appear in a few weeks or a few years. At the conclusion of each setup, it simply takes a few minutes to shoot a little wider, vertically, and horizontally.
This will also provide you more processing flexibility. Experimenting also helps in enabling new tactics and let one discover the art of cropping a portrait in the best possible way.
Don’t crop to the horizon:
Pay particular attention to where the horizon is located when cropping a landscape photo or any other photo with a distinct horizon line. On a grid using the rule of thirds, keeping it at one of the two horizontal lines is typically the best option.
If you crop it too close, the image will cease to resemble a landscape and will instead resemble an uncomfortably cropped image of whatever happens to be the largest object in the frame.
The above-mentioned tips on how to crop a portrait like a pro will always be helpful to avoid going wrong when photography is concerned. Use them from pre to post-production process but don’t forget that it could only be excelled with regular practice and hands-on experience.